
This game begins 1 second before the Magic
Inquisition’s Totemization enforced curfew, at a crossroads between Port
Foozle, and a Monastery turned Inquisition headquarters.
Let’s start by heading toward the town of Port Foozle, so pick up your PermaSuck machine and...
Turn to your left, and walk into town.
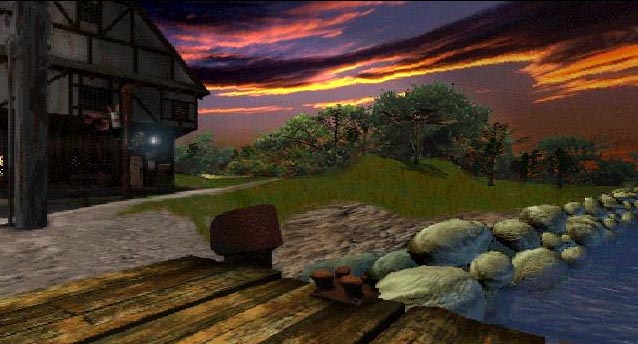
The first thing that you’ve probably noticed by now, is
that there are loudspeakers on every house playing (loudly) an Inquisition
officer screaming about how the Inquisition runs everything, and everyone is
subordinate to them. (Who is the Boss of you? ME! I am the Boss of You!)
Let’s go over to that fish house and see if there’s
anything important you can use.
If you try to take the fish from the ice, the alarm will
sound and the owner will chew you out.
But, if you turn the loudspeaker up so loud that the owner can’t
hear the alarm, you can take them without incident. (You can leave the
loudspeaker turned up if you want. The
guy can be funny at times.)
Now let’s head to the dock. (It’s to your left as you
face the shop)
Use the winch a few times to hear everything the magic
fish has to say. (Some character huh?)
Place the six-pack holder on the hook (You know that
thing that people say chokes fish,) and use the winch again to choke the
fish, and make him leave the area.
After he’s gone, use the winch one last time, and
you’ll receive (Guess What?) the trusty old battery-operated lantern.
Now let’s see what Antharia Jack (Dirk Benedict,) the
lantern repairman has to say about this little find. (His shop is the one to
your right, as you enter the town)
Go up to the door, and click the lantern on the door. (If
you just knock, he won’t let you in.)
Once you’re inside, he’ll offer you an auto lighting
cigar while he goes and looks for his wrench.
Take a cigar from the box.
When he returns, Jack will fiddle with the lantern, which
starts to talk! (He’ll hit it a few times) then, he’ll talk you out of
(Forcefully) keeping the lantern, and send you back outside. (Minus one
lantern)
Go to the end of the street. (Back alley, where they have
free talking inquisitor dolls)
Look at the Talking Grand Inquisitor doll and notice that
they are highly flammable.
Light it with the cigar and jump into the barrel behind
you.
Watch (Through the hole in the barrel) the Inquisition
police take Jack away for the fire he set.
(Don’t worry; you’ll meet up with Jack again later)
Run back to Jack’s shop and retrieve your lantern
(Which promptly thanks you, and ask you to get it out of town.)
Now that you have the lantern, there’s nothing left in
town for you, so let’s head up to the Monastery turned Inquisition
headquarters. (To the right from the crossroads)
Read the signs on the fence and take the rope from the
Frobozz Electric Totemization Counter sign.
That’s all at the Headquarters for now, so lets’ go
and take the center path from the crossroads.
Go straight twice, and go to the well in the forest, use
the rope to climb down the well.
After meeting Dalboz (who happens to be trapped in the lamp) and talking to Sorceress Y’Gael, you will have a spellbook and be standing outside Secret Entrance # 38967 to the Great Underground Empire.
Look down and find the bucket. Inside is the Subway Token.
Go ahead and take it (Dalboz will point out that it’s your first inventory item together. Awe.)
Face the door and cast REZROV (This unlocks the door)
You can now be transported down the stairs. (By the railing no less!)
At the bottom, turn to the left. (As you face the door)
Next to the entrance is an emergency Adventure Case that contains a hammer,
a Sword (I think it's supposed to be the Elvish Sword of Antiquity,
to retain continuity with the other games), and a map.
Open the case and take the hammer, then close it and use
the hammer to break the glass. (Cheeky) You can now get the Sword and Map
from the case.
Look on the ground to the right of the entrance where you
will find Griff’s Totem. (Griff is a dragon that was captured by the
inquisition, as he is a magical creature.) (Now you know what Totemization
is, bet you've been wondering)
Proceed down the path to the crossroads.
To the right is the Crossroads teleportation station, and
past that, the Zork Underground. (Subway)
Straight ahead takes you to the entrance to GUE Tech.
To the left is the entrance to the Dungeon Masters Lair (Where we go next)
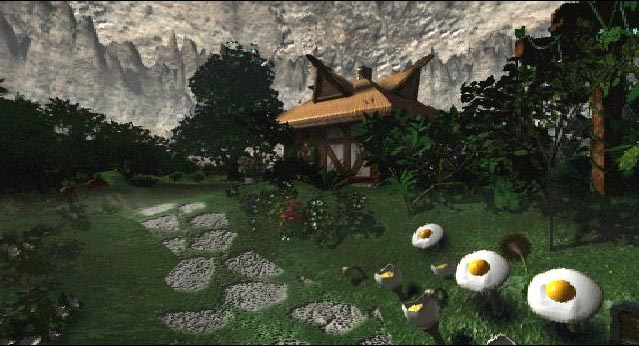
Use the sword to cut away the brush. (How come you
couldn’t do that in Zork I?)
Enter the hole you just cut.
Open the shed just to the right of the entrance and get
the shovel and the THROCK scroll.
Head back to the crossroads and then go to the entrance to GUE Tech.
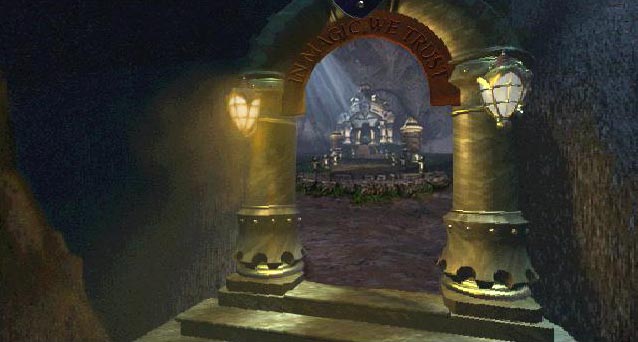
Unlock, and open the door with the REZROV spell, then
enter.
To get into GUE Tech you have to solve the rotating
puzzles on the three columns. (You only have to do this once, as whenever
you return the puzzles will be solved)
On the first two columns you have to match the pictures.
The correct picture on the first column is a volcano with
a river of lava.
The correct picture on the second is the tower with the
"Z" on top.
For the third column you have to create a complete
window.
Match the sections so that the entire window is visible,
ignoring the rest of the image.
Click on the window that appears to enter GUE Tech.
Move around the fountain to the left and read all the
notices on the bulletin board for some clues. Continue around the fountain
to the Infinite Hallway entrance.
Look up above the hallway entrance to see the sign
describing it as an "Infinite Hallway".
You should notice that the letters are in purple, and you
have a spell that makes purple things invisible. (I’ll bet that
description sounded weird when you first looked at it)
Anyway, cast IGRAM on the word "Infinite" to
change the Infinite hallway to a finite Hallway.
Enter quickly before it changes back and go down the
hallway to listen to all four parts of the message from Belboz. (To hear
these messages, you need to merely click on the pictures.)
Head back to the fountain and exit GUE Tech using the
door. (The door and the window take you to two different places)
Turn around and go back up the stairs to the empty floor.
The teleport station for GUE Tech is to the left, while
to the right is a pile of dirt.
Use the shovel to dig up the KENDALL spell, and then use the Teleportation Station to return to the Crossroads.
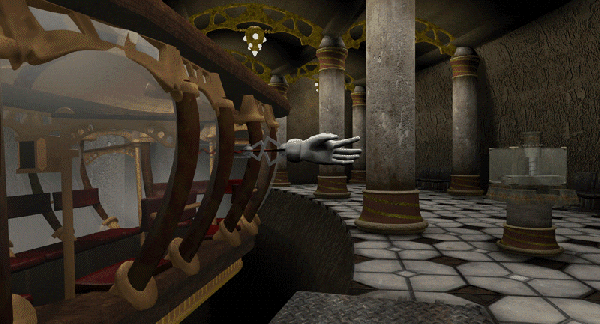
Use the token you found at the bottom of the well to
enter the Zork Underground system.
Read the poster, and then look at the directions on the
wall.
Wow! These directions are really complicated.
If only you had a way to simplify instructions.
Cast KENDALL on the instructions, Press the Hades button, Turn around and Step onto the platform. (Nifty little system they have here.)
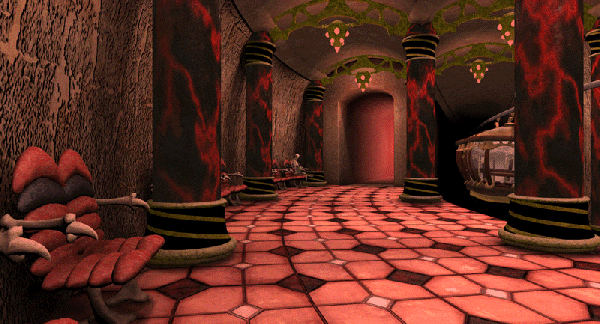
The skeleton here seems to have hypnotized himself, as
one of the books he has is about self hypnotizing methods.
Take the Old Scratch card from his hand.
Save the game like Dalboz tells you to.
Play the scratch game (examine the card) until you win.
After you win the 500 Zorkmids, head through the doorway and use the Hades Teleportation Station to return to GUE Tech.
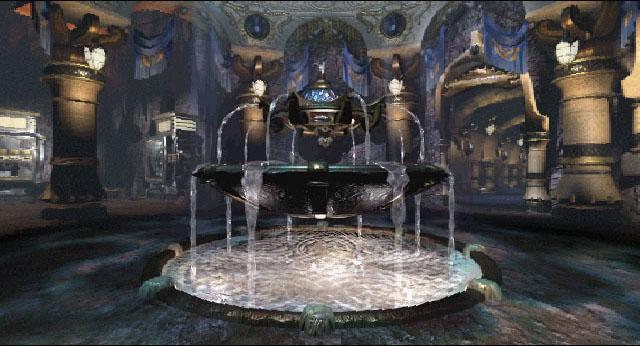
Go back inside the GUE Tech building by going down the
steps and entering the Window on the pillar.
Head for the snack machines and use the change machine to
get Zorkmid coins in exchange for the 500 Zorkmid bill you won.
Buy an ice cream sandwich (The third option,) and find
that inside the treat, is the OBIDIL scroll. (Note: You cannot Gnusto the
OBIDIL scroll yet, as it needs to be imbued by a spell checker)
Use a Zorkmid to purchase Zork Rocks (#8) in the candy
machine. (It’ll get stuck, don't worry, you'll have
your treat soon enough)
Plug the vacuum (The only object you started the game
with, that you've probably been thinking was a fishing lure of some kind) into the candy machine and turn it on. Retrieve the candy from inside
the PermaSuck machine.
Before the next step, you should SAVE your GAME.
Place the Zork Rocks in the soda machine and pay for some
Blam Classic.
Now hurry down the hallway to the lockers before the Zork
Rocks explode.
Slip them into Dalboz’s locker (second locker on the
middle row) and wait for it to explode.
The locker is now open, and you can pick up the Dungeon
Master’s student ID inside.
To open the other lockers, you must purchase the matching
candy in the candy machine. (I.E. the upper-left candy, open the upper-left
locker) (Note: this was shown in one of the notices on the bulletin board)
The only other locker that you need to open is Yanuk’s
(the one with all the graffiti).
Head back to the candy machine and buy the candy that
matches that locker (number 11).
Return to the lockers and get the ProZork sedative from
the locker and read all the books.
Use the KENDALL spell to make the spell creation textbook
easier to understand.
Remember the order of Spell creation, as you will need it
later.
After reading the textbook turn around and use the ID Card to open the door to the Spell Lab.
Enter the Spell Lab and use the Teleportation Station on your right to return to the crossroads.
Take the Zork Underground to the Flood Control Dam #3
station. (You no longer need a token to enter the subway)
Turn to the left and use a Zorkmid in the machine to get
a souvenir letter opener.
Look at the drainpipe to see the Moss of Mareilon.
Use THROCK on the Moss to make it grow, then pick it up.
Head to the Dam controls and read the two books to find
the GOLGATEM spell.
Use the REZROV spell on one of the closed Floodgates, and
you will be able to operate the controls to close all four gates.
The dam will be destroyed and power to Port Foozle will
be interrupted. (Therefore keeping Jack from being totemized.
This also fills the area below the bridge to the Spell Lab with
water.)
Take the Zork Underground back to the crossroads and head back to the Spell Lab using the Teleportation Station.
Use the sword to cut the ropes of the bridge, sending the
invisible six-armed guy to the bottom of the canyon. (If you attack the
creature, you will die)
Cast GOLGATEM to build a new bridge.
Head to the Spell Checker and run the OBIDIL spell
through it to make it useable.
Get a blank scroll from the box to the left of the
bridge.
You must follow the instruction from the cheater’s book
you found in the lockers to create the BEBURTT spell.
The correct order is as follows: Origination,
Modification, Replication, Interpretation, Transmogrification and finally
run it through the Spell Checker to have it imbued.
Use the Teleportation Station to return to the Crossroads.
Head for the umbrella plant. (On the other side of the
staircase to the secret entrance)
Cast BEBURTT on the blossoms.
The blossoms will open and drop the ZIMDOR scroll. (You
cannot Gnusto this scroll)
Pick it up and head back to the Dungeon Master’s Lair.
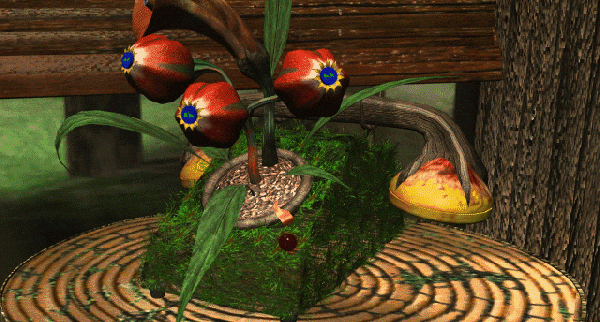
Walk toward the house until you get to the snapdragon.
(On the left, across from the eggplants)
Throw the ProZork tablet to the snapdragon and use the
sword to cut it from the plant.
Head over to the house and place the cigar in the ashtray
on the left (the security system will take it)
Now, pour the Mead Light into the basin on the right.
Use the ZIMDOR scroll you got from the umbrella plant to
triplicate the amount of Mead Light in the basin. (The security system will
take that too)
Now that the alarm is disabled you can enter the house.
Inside the house get the Flatheadia Fudge, the jar of
Hotbugs and the Hungus Lard from the shelves to your left.
Take the mug from the mug plant near the Chia-Processor.
(It looks like it’s growing from the plant)
Read all the books you can find (three on the shelves to
the left, one in the corner by the door, and two more on the shelves to the
right.) (Dalboz liked to read)
Listen to all the messages on the answering machine. (It
looks like a potted plant on the coffee table)
Time to SAVE the GAME again.
Head back outside and place the Hungus Lard in the
beehive to scare away all of the Quelbees.
Quickly remove the lard and use the sword on the hive.
Take the honeycomb.
Walk around the side of the house to find the
Teleportation Station.
Turn toward the house and look under the window at the
small mushroom-shaped plant.
Cast THROCK on the plant and then place the snapdragon on
top.
Hit the plant with the hammer and the snapdragon will
jump to the windowsill and fetch a torn piece of the SNAVIG scroll.
Walk back around the house and go inside.
Open the blinds and look at the walking castle.
Quickly use OBIDIL to attract him closer and go inside.
Pick up the NARWILE spell from the castle’s heart
(sick) and go back into the house.
Place the Moss of Mareilon, mug, Hungus Lard, Flatheadia
Fudge, Quelbee Honeycomb and the jar of hotbugs in the food processor.
You will get a mug of Dalboz’s famous hot chocolate.
Drink the hot Chocolate, (Cup and all!) and Dalboz will
remember the SNAVIG spell.
Now go into the Bedroom.
Grab the other piece of the SNAVIG scroll from the
windowsill, and walk through the mirror.
Assemble the pieces of the scroll and walk back though
the mirror.
Open the wardrobe to reveal the first time tunnel.
Cast NARWILE on the tunnel, and use YASTARD on Griff’s totem to send him through the tunnel.
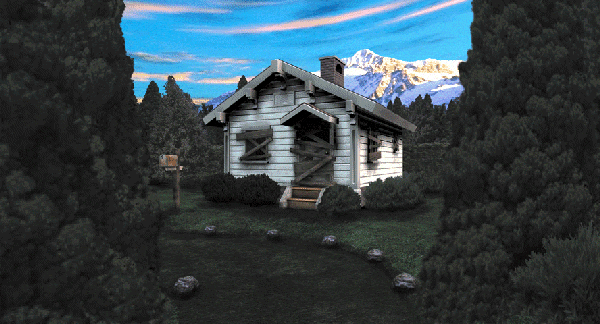
Behind the house lays the GOFLE spell.
Pick it up, walk around to the front of the house and
then open the mailbox to reveal an envelope addressed to 666 Hades Place.
Put the scroll inside the envelope and place the envelope
in the mailbox.
Close the mailbox and put the flag up.
Head back to the time tunnel and return to present time.
Use the teleport station to go to Hades.
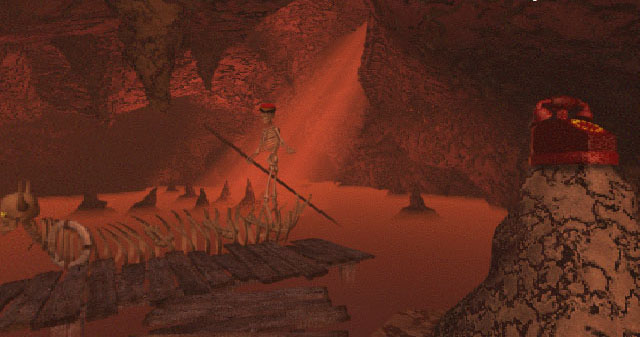
Go through the doorway and pick up the phone.
You now need to decode the automated message system to
get Charon to show up.
This puzzle can be difficult if you aren’t thinking
along Zorkian lines. (To decipher the instructions, cast KENDALL on the
phone itself)
When Charon arrives pay him two Zorkmids and he will take
you to hell.
Open the mailbox there and get the envelope with the
GLORF spell.
Pay Charon two more Zorkmids to take you back across the river, and use the teleport station to return to the Spell Lab.
Run the taped-up SNAVIG scroll through the spell checker
to repair it.
You should now have all of the spells in the game.
Use the Teleportation Station to go back to the Crossroads.
Go to the secret entrance (The Dragon/Railing will take
you back up the stairs) and use GLORF on the rope to untie it. (Don’t go
topside, or you will be arrested and sentenced for immediate Totemization,
and you're not lucky enough to have a random adventurer cut the power like
Jack.)
Head back to the Zork Underground and take it to the Monastery.
Tie the rope to the sword and throw it up to the grate in
the ceiling.
Climb up the rope to the interior of the Monastery.
Inside the Monastery is the Totemization device.
You should SAVE the GAME at this point.
Look at the controls and turn the wheel with the light on
it to disable the "PermaSeal" step. (The yellow light will go out)
Change the destination to the Inquisition chamber, then
move to the entrance to the machine and press the right button to activate
the Totemizer. (Yikes!)
After you land in the inquisition chamber (and expand
back to your normal size,) pick up Lucy’s totem from the box. (She’s the
one yelling for you)
Look at all the displays, and exit the monastery.
Read all the signs on this side of the fence for all of
the Inquisition messages.
Now, open the message sender near the door, and remove
the middle hammer to change the message being sent to the guards.
Go back inside.
Go to the display on sealing up the time tunnels.
Move the lever all the way to the top to set the speed of
the display to the fastest setting and then turn it on.
After the hammer in the display breaks replace it with
the one you took from the message system. (This one’s much stronger)
Activate the display again and the planks over the time
tunnel will be knocked off.
Cast NARWILE on the tunnel, and send Lucy through it with the YASTARD spell.
Go into Jack’s bar and head to the math game.
Take all the cards, and use the "four" card
with the fly buzzing around near the door to make it a "five"
card.
Using the modified card solve the math problem in the
machine. 5 / 1 – 2 = 3 (5 / 1 – 3 = 2)
You will be ushered into the back room to play strip
Grue, Fire, and Water with Antharia Jack.
Click on Jack before each round to read his mind, then
select to correct button to defeat him.
Eventually he will give you the Cube of Foundation and
the walking castle will show up.
Place the cube on one of the cushions then exit the
castle through the time tunnel.
Head for Hades, either by going back down to the Zork Underground.
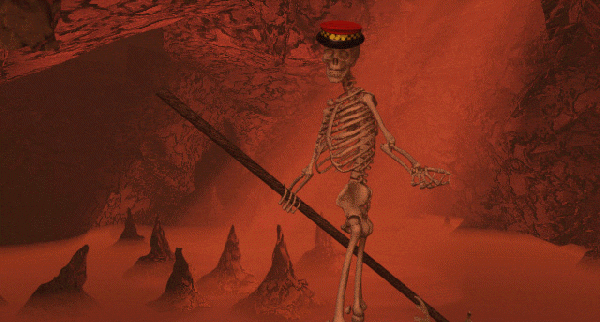
Once you’re across the river again cast SNAVIG on
Charon, and go to the two-headed guard near the gates of Hell. He’ll let
you take a time card. Make sure
that you use Charon’s.
Now you will be admitted through the gates of Hell.
Pick up Brog’s totem from the floor and move on to the
Time Tunnel.
Cast NARWILE on the tunnel, then send Griff through with the YASTARD spell.
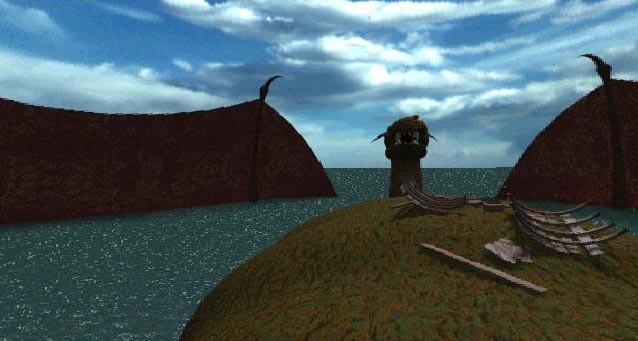
Turn to the left until you find an "island"
Griff can fly to.
Fly there, and push the claw, which will cause the
sleeping dragon to shift, revealing his extra-large belly.
Fly to his belly. (The large central island)
Find the box in the ship wreckage and get the inflatable
raft and man.
Take the air pump from the skeleton on the dragon’s
right hand (to the left of the wreckage.
I have to wonder exactly how somebody could die in that position)
Fly to the dragon’s snout and place the raft and
inflatable man in his nostrils.
Use the pump to inflate them both.
I’d SAVE my GAME before you go into the dragon’s maw.
Now fly into his mouth.
Once inside take the gold tooth and the Coconut of
Quendor.
Talk to the guy inside the dragon until he throws you a
rope.
Ignore his requests for help and place the Coconut inside
the raft.
Go outside and tie the rope to the raft and inflatable
man. (If you tie it to one, it automatically ties to the other)
Head back inside the dragon’s mouth again and use the
gold tooth to pop the inflatable man.
After popping him you need to exit the dragon’s mouth
very quickly.
Find the raft and collect the Coconut, making the walking
castle appear.
When the castle appears go inside and place the Coconut on the cushion, then go through the time tunnel to return to the present.
Charon won’t take you back across the river because
you’ve gone through the gates of Hell.
Cast SNAVIG on the two-headed guard then go to Charon.
He’ll take you across the river.
Use the Teleportation Station to go to the Dungeon Master
Lair.
Go inside the house and head back to the time tunnel in
the wardrobe. (No, the White House is NOT in Narnia!)
Use YASTARD to send Brog through the tunnel.

Go to the cave entrance and take both torches.
Go back to the White House and rip the boards off the
door.
Once inside head downstairs and collect the Grue eggs.
Go back upstairs and use the Flickering Torch with the
pot in the corner, and place each egg in the pot to boil it.
Once you have boiled all the eggs go back downstairs.
Throw the eggs at the stalactites until they break away
and reveal a platform you can jump to.
Jump across the chasm to the Chess puzzle and the Skull
of Yoruk.
This is an interesting puzzle to face as the
non-intelligent Brog, but it’s one of my favorite solutions to any puzzle.
You need to take the board that you pulled from the door,
and smash the cage open. (You
can’t tell me that you never wanted to do THAT in a game like this.)
Anyway, once you take the Skull, the walking castle shows up, and you place it on its cushion, you can return to the present day through the awaiting time tunnel.
Talk to Jack through the air vent until he gives you a
scroll with a spell that creates a keyhole and key.
Use the letter opener to unscrew the vent and take the
scroll.
Take the poster off the wall.
Use the scroll on the cell door to create a lock.
Place the poster under the door and push the key out of
the lock using the letter opener. (Hey remember this from Zork II?)
Take the key and poster and unlock the door.
SAVE the GAME.
Go to the control panel to the left of the cell and
examine the blueprints.
Watch the monitor until you see Jack waving through his
cell window.
Using the blueprints and the camera number that displayed
when you saw Jack, figure out what cell he’s in. (I
believe it’s different every
time)
Set the controls to that cell number and press the
button.
Jack will go get your stuff and come meet you at the
control panel.
The walking castle will appear again and take you to Flathead Mesa.
Once Y’Gael has given you the scroll use it on your spell book
to reverse all your spells. (Now those are some interesting spells
you have now)
Go back into the castle and take all three artifacts.
Exit the castle.
Head toward the broadcast tower.
Use the VORZER spell to close the guard tent, and seal
them all inside.
Then use MARGI to reveal the invisible fence.
Unplug the fence, and then cut it with the sword.
You now need to place the artifacts in the correct
positions on the tower.
The Skull goes in a box at the bottom of the tower, the
Cube goes in the CUBE SHAPED hole halfway up the tower, and the Coconut goes
in one of the cups at the top of the tower.
After you place the Coconut, Dalboz will have you balance
the cups using the lantern.
After placing all the items look up and cut the wire
using the sword.
Once the Grand Inquisitor starts climbing the tower cast
the spell to bind the parts of magic.
The Inquisitor will be destroyed, the creatures trapped in totems will all be freed, Lucy will be elected Queen, and you will become the Fourth Dungeon Master.